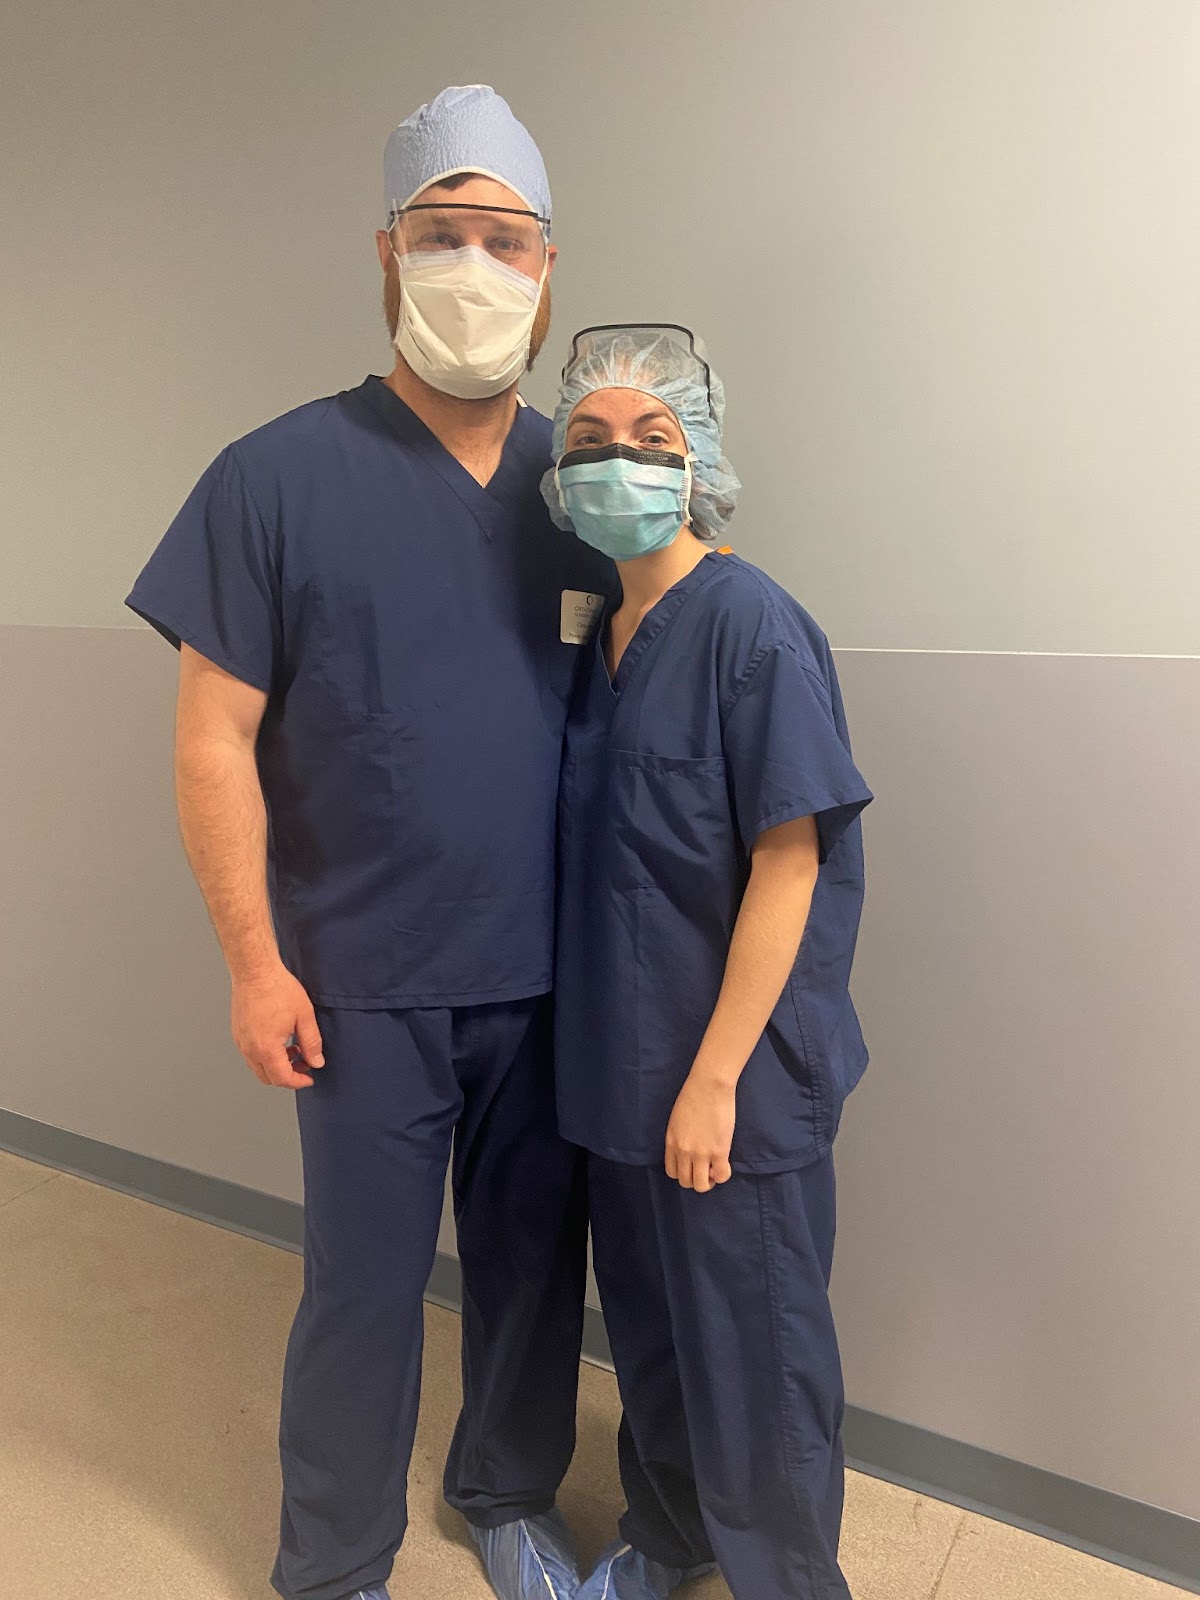
Day Eight: Orthopedic Management and Testing a Knee
5/17/22
Blog Written: 7:40pm
Start: 8:30am
End: 5:00pm
Today’s Time: 4h30m
Total Time: 50h10m


I didn’t do much today, as you can see from my hours, but in the minimal hours I got in, they did have some heftiness to them. We covered many different types of splinting from head to toe, with a few trick questions mixed in there. But before any splinting, we have to assess the patient. First, make sure the scene is safe for both you and the patient, then check the ABCD(Airway, Breathing, Circulation, and Deformity), you also have to ask if they are ok, if they respond to you, then they pass the ABC, if they don’t, you have another thing to worry about. Then you ask them history questions, then observations, then palpitations.
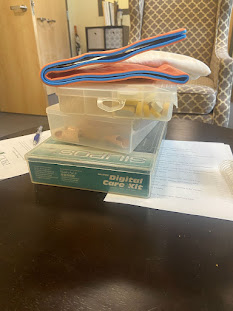
For a broken toe, you can technically splint it with one of the shorter digit splints seen in the third photo and some tape to hold it on. For a broken foot, a Sam Splint and some tape would be used to stabilize the foot/ankle. Same goes with a lower tibia/fibula/ankle fracture. For a lower leg fracture, two Sam Splints and tape would be used to help secure the lower leg in place until the hospital.For a patellar fracture, we will use a Vacuum Splint.
For a femur fracture, a Traction Splint would be used if medical care is easily reachable, for example, athletic trainers or ski patrol. We use Traction Splints for femur fractures only because by pulling the femur back into place, there is a lower risk for the femoral artery to get severed; which leads us to the most important and crucial rule of traction splinting, which applies to everyone but the doctor at the hospital, ONCE IT IS ON, NEVER TAKE IT OFF!!
For a hip fracture, since we don’t have any proper hip splints, we can make a makeshift hip splint using two tourniquets and Sam Splint.The Sam Splint is placed where the femoral heads are, then the tourniquets are attached to one another, and applied to the outside of the Sam Splint, then squeezed as tight as possible to hold the hips together; like the most important rule with a Traction Splint, stabilizing a hip fracture has the same type of rule, YOU MUST TIE TOGETHER THE FEET BEFORE APPLYING A SPLINT! This is to ensure that the hip doesn’t separate further as the legs will curl out if you don’t tie them to one another.
For a coccyx fracture, you can’t do anything for it besides not sit down or lay on your back. For a lumbar fracture, we would use a backboard so as to not move them more than they need to in order to prevent paralysis; same goes for thoracic spine fractures. For a cervical fracture, we will put on a cervical collar to protect the spinal cord from being severed. For a skull fracture, you do not do anything, in case the brain swells.
For a rib fracture, you can’t really do much, you can wrap an ace bandage around it, but it isn’t necessary, just try to keep the patient from moving too much, and make sure they are breathing ok. For a flail rib fracture, that means that more than 3 ribs are broken, and there is probably a difficulty breathing, and for that, you have to put on an ace bandage to hold their ribs in place for them, to make sure they can still breath a little easier. For a collarbone fracture, a sling would be placed on the same side arm that the fracture is on, then we would tie a long, thick piece of fabric around the person's arm, crossing the middle of their forearm for the most support.
For a shoulder fracture, we will put a sling on, but no piece of fabric tied around. For a humerus fracture, we would put on either a Vacuum Splint, or a Sam splint with tape to hold it in place; same goes for a lower arm fracture. For a wrist fracture, we would put on a Sam Splint with the end curled up to support the hand, along with some tape to hold it in place; same goes the hand. For a finger fracture, we would put on one of the longer digit splints, also seen above in the third picture, or a more sturdy one as seen in the first picture.
Finally, today, I was able to perform the Anterior Drawer Test, which tests to feel if the ACL(Anterior Cruciate Ligament), on someone who actually has an ACL tear currently. So I was able to feel the lower leg not be stopped by the ACL, it was definitely a strange feeling, but I was excited to finally know/feel what I would be looking for.

Wow! For a short day you certainly covered a lot. It's amazing how much you go over in each session.
ReplyDelete